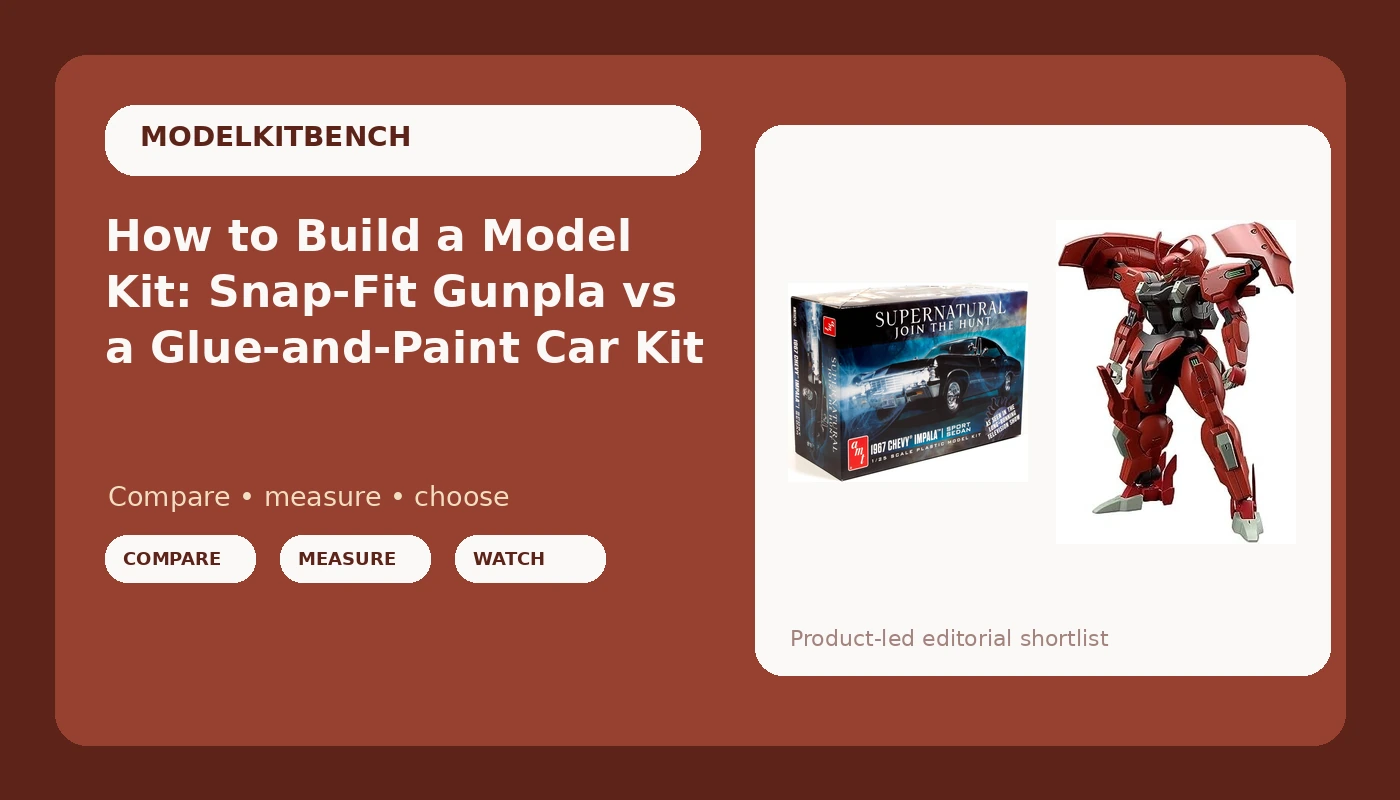
Model kit building looks like a test of steady hands. It is really a test of reading. The kits that drive beginners out of the hobby are the ones that fight back: gates sitting on a visible surface, decals that shatter the moment they hit warm water, a box that promises no glue and then hands you a body that splits along the roof. The kits that keep people in the hobby go together the way the designer intended, and you can usually tell which is which before you cut a single part off the runner.
There are two doors into this hobby, and they ask different things of you. One is the modern snap-fit kit, molded in color, no cement anywhere. The other is the traditional glue-and-paint kit, where the plastic is a starting point and the finished model is mostly your work. This guide walks through both, using two kits I would hand a beginner without hesitation: a Bandai HG from The Witch from Mercury and an AMT 1:25 scale Impala.
Pick the door that matches the time you actually have, not the model you like most on the shelf. That is the whole decision. Everything after it is technique.
Why you should trust me
I have been building Gunpla for 15 years and airbrushing for 10, and I still work in IT to pay for a backlog that will outlive me. I have judged local Gunpla competitions twice, which taught me to score a kit on engineering rather than on whether I personally like the subject.
Every kit that comes through my bench gets the same treatment: a full build with no aftermarket parts, a part-fit scorecard, and a seam line honesty check. I do not review a kit I have not built, I do not call a glue-dependent kit snap-fit, and I do not call anything beginner friendly until I have built it with hand tools and no airbrush.
What that means here is simple. I am not going to pretend a snap-fit robot and a styrene car kit are the same project. They are not, and the difference is the point of the comparison.
How I picked and how I tested
I judge kits on four things, in this order. Does it fit without glue? Snap-fit is the standard now, and a kit that needs cement where the box says it does not is a bad kit no matter how good the detail is. Where are the gates? A gate on a visible surface means sanding and repainting a spot that should have been hidden by design. Are the decals usable? A waterslide that breaks in the water is an engineering failure, not a user error. Would I build it again for fun? That is the last test and the most honest one.
Those four questions are why these two kits ended up in the same article. One is the easiest on-ramp in the hobby, and the other is the honest version of the traditional path. I picked the Bandai HG because the grade is the best value in the hobby and modern HGs fit like a dream. I picked the AMT Impala because it is a real glue-and-paint project, and I would rather you know that up front than discover it when the body halves separate on your desk.
Both kits are molded in styrene. That is roughly where the similarity ends.
The two kits I would start with
One of these is a weekend. One of these is a month. Both are worth building, and neither is a compromise.
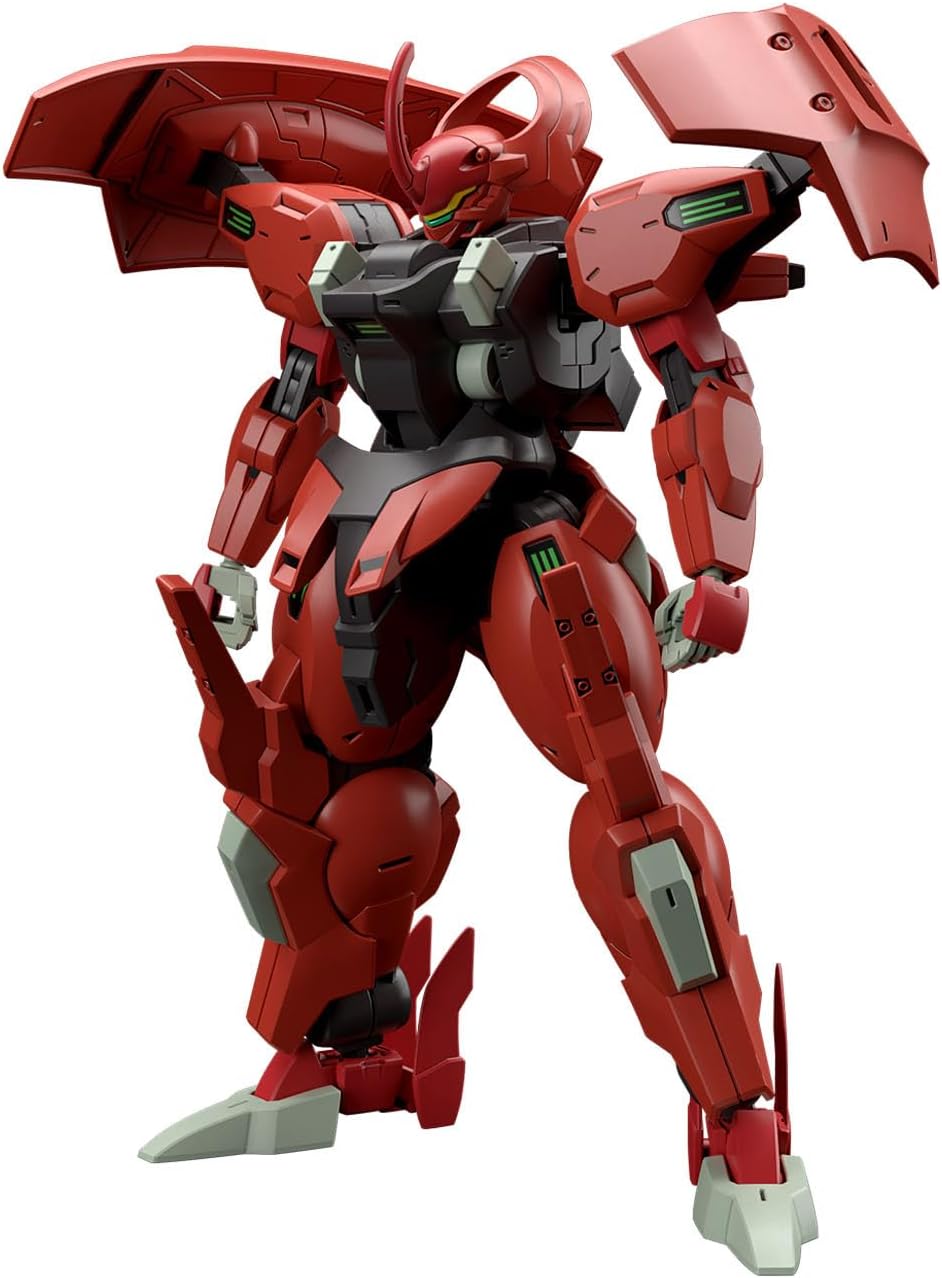
The snap-fit pick: Bandai Hobby - Mobile Suit Gundam: The Witch from Mercury - #08 Darilbalde, Bandai Spirits HG 1/144 Model Kit
 Visit on Amazon →
This is an HG kit in 1/144 scale, from the Witch from Mercury line, and it is the shape of kit I point beginners at first. Snap-fit means the joints are engineered to hold through friction and poly caps instead of cement. Molded in color means you can build it straight from the box and it reads like the machine on the front of the box, with no paint anywhere. The Darilbalde is number 08 in that line.
What to expect from the build: cut the parts free, clean the nubs, press the joints together, done in a weekend. Panel lines are molded into the plastic, so a single pass of panel line ink makes the whole thing pop with almost no effort. Small color apps that the molding cannot cover are handled by the sticker sheet, which is fine on a first build and replaceable later if you decide to paint.
Check current Amazon price, then look at sprue photos before you commit. The box art is marketing. The sprue is the truth.
Flaws but not dealbreakers: HG detail is smaller than what you get from a higher grade by design, and the parts are small enough that a decent pair of nippers matters more than any paint. Nothing here forces you to paint, and that is the point of the grade.
Anyone who wants a finished model on the shelf this weekend, with zero glue and zero stress, should start here.
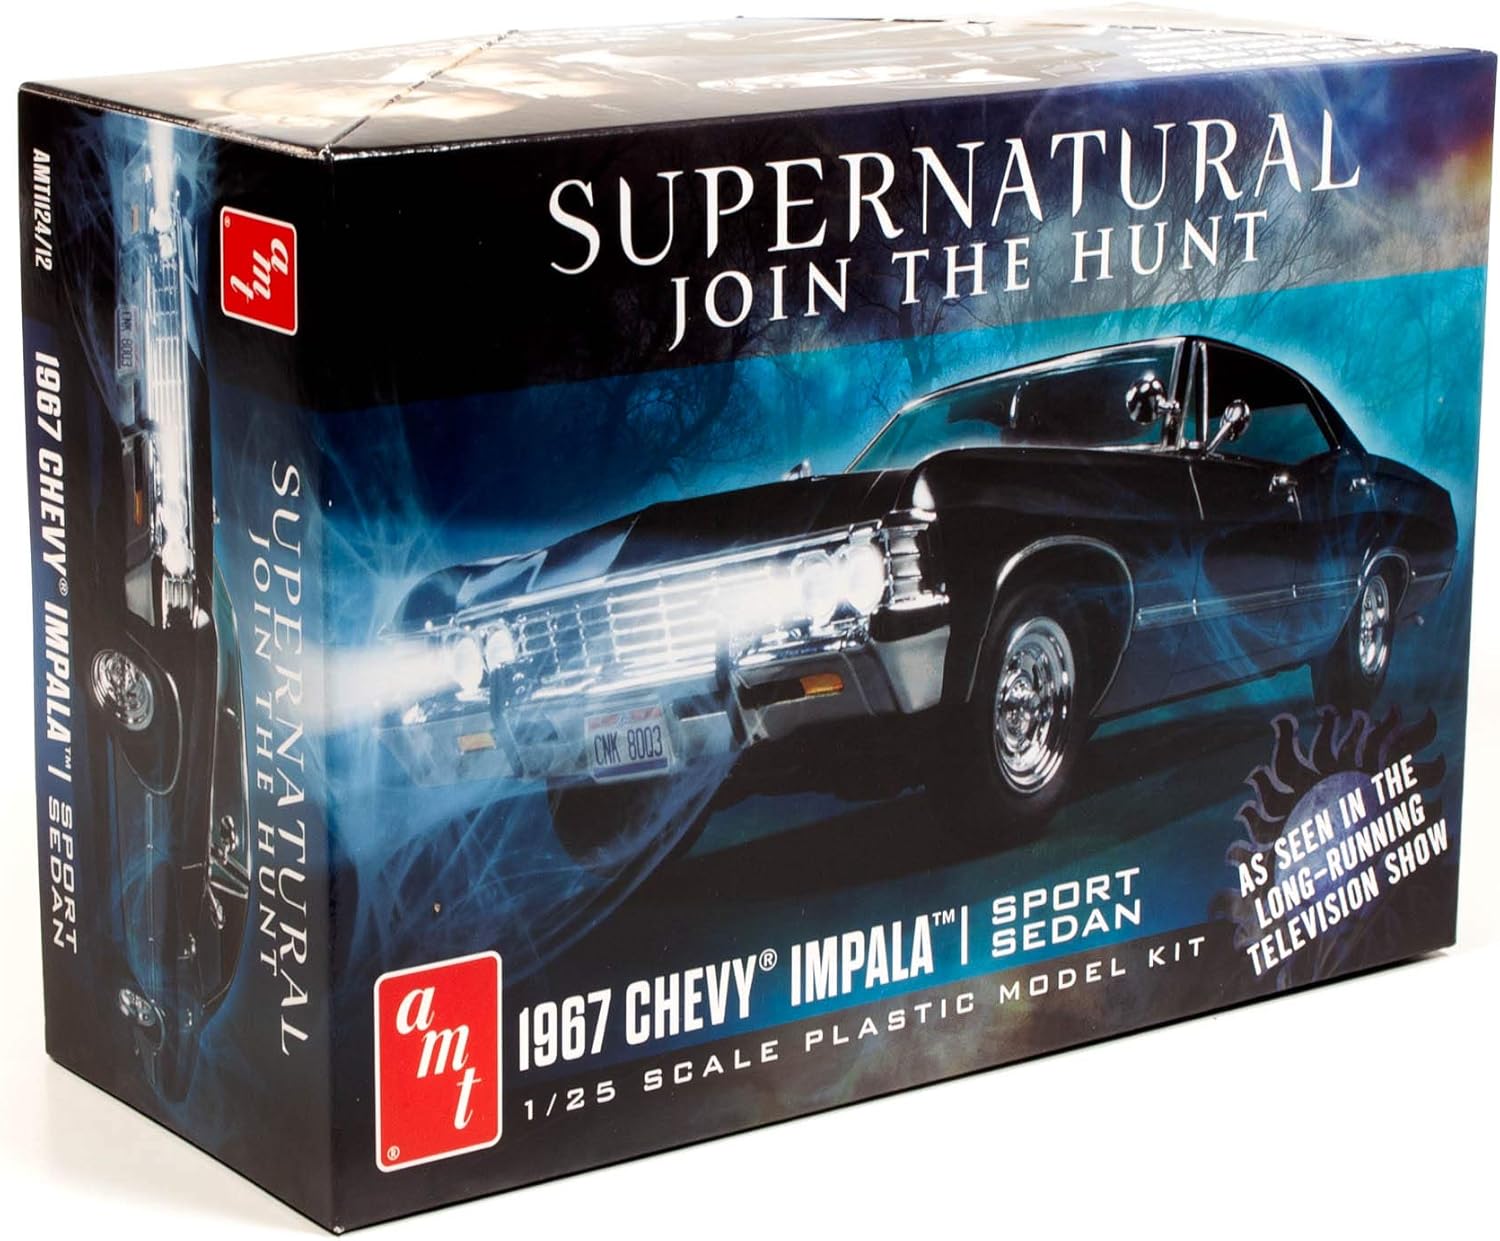
The glue-and-paint pick: AMT 1967 Chevy Impala 4-Door Supernatural 1:25 Scale Model Kit
 Visit on Amazon →
This is the other door, and it is a genuinely different hobby wearing the same word. AMT's 1:25 scale car kits are traditional styrene glue kits. The body comes in pieces, the chrome lives on its own tree, and the finished model is expected to be painted. The 1967 Impala four-door in the Supernatural livery is a subject with a built-in audience, and a four-door body means more seams to manage than a curbside two-door would.
What you need before you open the box: liquid cement, a set of sanding sticks, putty, primer, and paint. Body seams get puttied, sanded, primed, and inspected under a strong light before any color goes on, because primer is the honesty test. Chrome and clear glass are the two places where cement fumes do real damage, so attach those with the smallest possible amount of cement, or a clear parts glue, and then leave them alone to set.
Check current Amazon price before you plan the project.
Flaws but not dealbreakers: Traditional tooling means mold lines on parts that will end up visible, and the chrome plating will not survive aggressive sanding. Plan on stripping a bad spot and repainting it in a chrome-look finish, or working around it.
Anyone who wants the finished model to be mostly their own work, and has a few weekends to give it, will get more out of this than out of any snap-fit kit.
The actual build workflow
This is the sequence I use on every kit. It works on both of the kits above, and it works on anything else that lands on your bench.
Step one: read the manual cover to cover before you cut anything. Twice, for a car kit. Most beginner mistakes are assembly-order mistakes, and the manual already told you the order.
Step two: cut with nippers, and leave a nub. Cut the gate a millimeter or two away from the part. Cutting flush stresses the plastic and tears it, which is how you get a white scar on a surface you cannot hide.
Step three: shave and sand the nub. A hobby knife to shave, then 400 grit, then 600, then 1000, then a rub with a cloth to polish. Nub marks on a visible surface are the first thing a judge sees and the first thing you will see forever.
Step four: dry fit every joint before you commit. On a snap-fit kit, press until it clicks. If a joint fights you, the orientation is wrong, not the tolerance. On a glue kit, test the seam dry, check the alignment, then take it apart and cement it.
Step five: cement sparingly. Thin liquid cement applied with a touch applicator to both mating surfaces, then hold, then tape the joint if it wants to move. Excess cement melts detail and fogs clear parts.
Step six: deal with seam lines honestly. Sand the seam, putty if it is a body panel, sand again, then prime to check. If the seam still shows under primer, it will show under paint. This is the step people skip, and it is the step that separates a built model from a finished one.
Step seven: panel line before you get tired. One pass of ink into the recessed lines, then wipe the excess with a swab lightly dampened with solvent. Cleanup is easier on bare plastic than on a finished paint job.
Step eight: paint in thin coats. Primer first, then color, then a clear coat between decal work and final finish. Thin coats, more of them, always.
Step nine: handle decals like they are fragile, because they are. Gloss coat first so the decal has something smooth to sit on, then waterslides with a setting solution, then a topcoat to seal. If a waterslide shatters in the water, that is the sheet's fault, not yours.
Step ten: pick the right topcoat. Matte for military subjects, semi-gloss or gloss for cars, satin or flat for most mecha. The topcoat is what makes a build look deliberate.
Score your own work when you finish: fit out of five, gate placement out of five, decals out of five, fun out of five. Write it on the inside of the box. Six months from now you will know exactly which kits to buy again.
Where the other options land
The grades above and below these two exist, and they are not automatically better. RG kits are engineering showcases with inner frames that are genuinely impressive, but they are fragile in a beginner's hands and they punish impatience. MG kits are the sweet spot for detail and stability, and the 2.0 re-releases are some of the best work in the hobby, but they are a much bigger time commitment than a first kit should be. If you want more presence than an HG, that is the direction to move, not a jump straight to the biggest box on the shelf.
On the car side, Tamiya's scale models are the gold standard for plastic quality in automotive and military subjects. Revell is hit or miss, where the new tooling is decent and the old tooling is a test of your patience. None of that changes the workflow above. It changes how much sanding you do and how forgiving the plastic feels while you do it.
What this all costs
The kit is the cheap part. Nippers, a sanding stick set, a hobby knife, liquid cement, a few paints, and a clear coat will outlast several kits and will matter more to your results than the subject on the box. Add an airbrush later, once you know you are staying in the hobby.
What actually costs you is time, and the two doors ask for very different amounts of it. A snap-fit HG is a weekend. A 1:25 glue-and-paint car is a few weekends once you count body work, paint, and cure time. Neither path is better. They are two different hobbies that happen to share a shelf.
Check current Amazon price on both and decide with a calendar open, not a wishlist open. If you have one free weekend, take the snap-fit kit and finish something. If you have a month and you want the result to be unmistakably yours, take the car.
That is the job. Open the box, read the manual, and cut.